Every successful project—whether it’s a flight booking engine, a hotel platform, or a loyalty app—starts with one essential ingredient:
Clarity.
Clarity in purpose.
Clarity in scope.
Clarity in requirements.
As a UI/UX engineer or project lead, it’s tempting to jump into wireframes or visual designs right away. But without solid, well-defined project requirements, design becomes guesswork—and development turns into a loop of rework.
This article is your guide to finalizing project requirements like a pro—so your product doesn’t just look good, but works exactly as users and stakeholders expect.
Why Finalizing Requirements Matters 🎯
Let’s be honest:
Unclear or incomplete requirements are the #1 cause of project delays, scope creep, and frustration.
When requirements aren’t clear:
- Developers build the wrong features.
- Designers solve the wrong problems.
- Stakeholders keep shifting the goalposts.
- QA finds issues that should’ve been caught earlier.
Finalized requirements serve as the single source of truth that aligns design, dev, product, and business goals.
Step 1: Understand the Problem — Not Just the Feature 🧠
Before you write a single requirement, ask:
- What is the real problem we’re solving?
- Who are we solving it for?
- What are the business and user outcomes expected?
📌 Example:
You’re asked to “add seat booking.” But what does that really mean?
- Is it for free seats or paid options?
- Should users select before or after flight checkout?
- Does it affect pricing logic?
- Is the seat data real-time via API?
The better you define the problem, the clearer your solution will be.
Step 2: Break Down the User Flow 🗺️
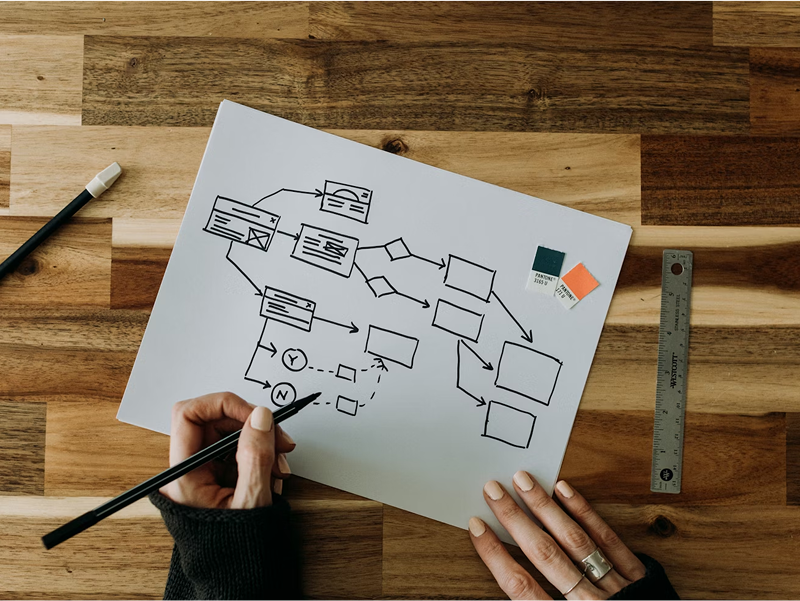
Requirements shouldn’t be a checklist of features—they should follow the user journey.
Use a whiteboard, Figma, or even pen and paper to map:
- Entry points (search form, email link, etc.)
- Decision points (select flight > choose add-ons > confirm payment)
- Edge cases (empty state, price not found, timeout, invalid login)
🎯 Pro Tip: Always include alternate flows—like “What happens if no hotel rooms are available?”
Step 3: Document Functional & UX Requirements Together 🧾
Functional specs say what the system should do.
UX specs explain how it should behave.
Both should be captured in your requirement doc:
| Section | Example |
| Feature | “Add Hotel to Flight Booking” |
| Functional Requirement | “User can view hotel options tied to their selected destination and dates via API X.” |
| UX Requirement | “System should auto-select the cheapest option, but allow user to change before continuing.” |
Make sure to include:
- Wireframes or UI mockups
- API dependencies
- Validation logic
- User role permissions
- Mobile vs desktop behavior
Step 4: Align with Stakeholders Early 🔒

Before you consider your requirements “final,” get everyone in a room (or call):
- Business owner
- Developer lead
- UX designer
- QA / Test engineer
Walk them through:
- Each feature
- Each user flow
- Each assumption
Ask: “Is this clear to you?”
If someone’s confused now, users will be confused later.
🎯 Pro Tip: Record this session or summarize it in writing for alignment.
Step 5: Lock the Scope — Then Track Changes 🔁
Use the MoSCoW method to finalize:
- Must Have – Cannot ship without
- Should Have – Adds real value
- Could Have – Nice to include if time permits
- Won’t Have (for now) – Clear what’s out of scope
Then, move all requirements into a shared platform (Notion, Jira, Confluence, Google Docs) where:
- Everyone can comment
- Each change is tracked
- Sign-off is visible
Bonus: Use UX Tools to Finalize Requirements Visually 🧩
Words aren’t always enough.
Use:
- Wireframes – For layout logic
- Clickable prototypes – For navigation clarity
- Storyboards or task flows – To show context
Design artifacts turn abstract requirements into something tangible—and prevent misunderstandings before they happen.
Final Thoughts 🚀
Design doesn’t begin with pixels.
It begins with purpose. With alignment. With clarity.
By finalizing project requirements before design or development starts, you:
- Reduce rework and frustration
- Improve time-to-launch
- Build the right product, not just a shiny one
So before you sprint into your next project, stop and ask:
“Are our requirements clear enough that even the intern could explain them?”
If not, go back.
Because every great design starts with clarity.